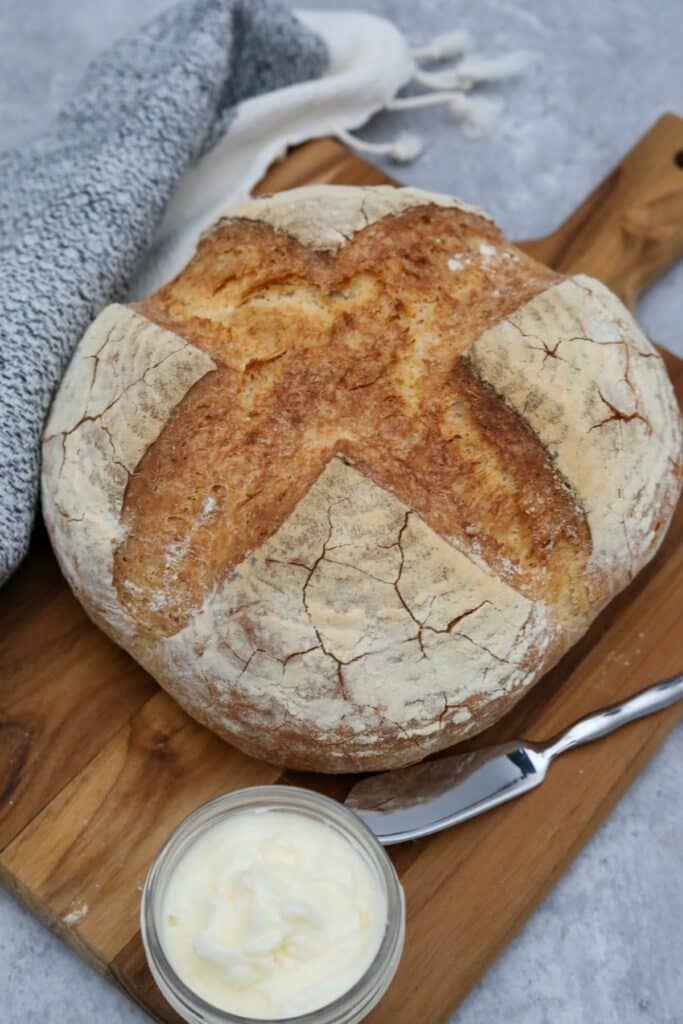


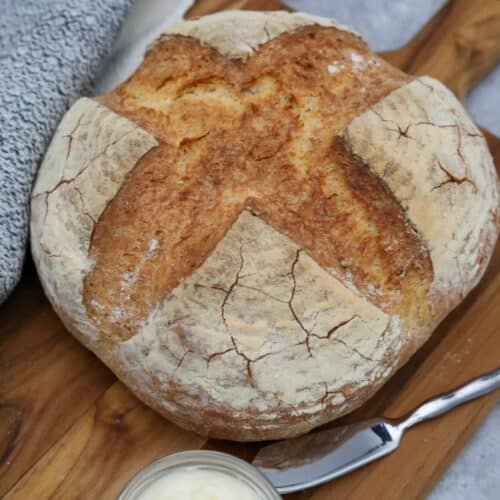
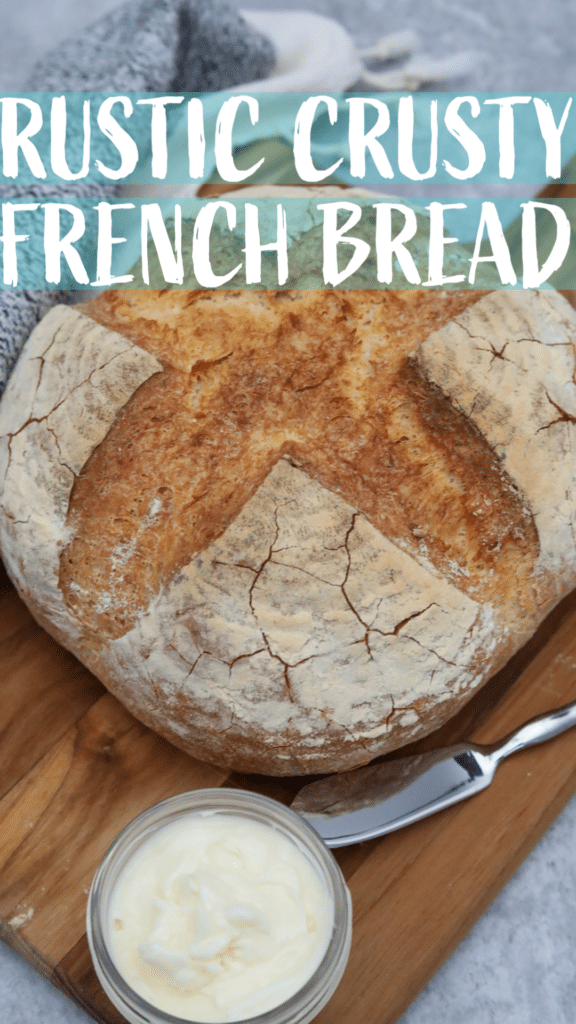
Rustic Crusty French Bread
A great crusty bread that is perfect for dipping, sandwiches, toasted for other recipes, or just warm with some butter.
Equipment
- Stand mixer with dough hook
- Banneton proofing basket
- Dutch oven
- Cooling rack
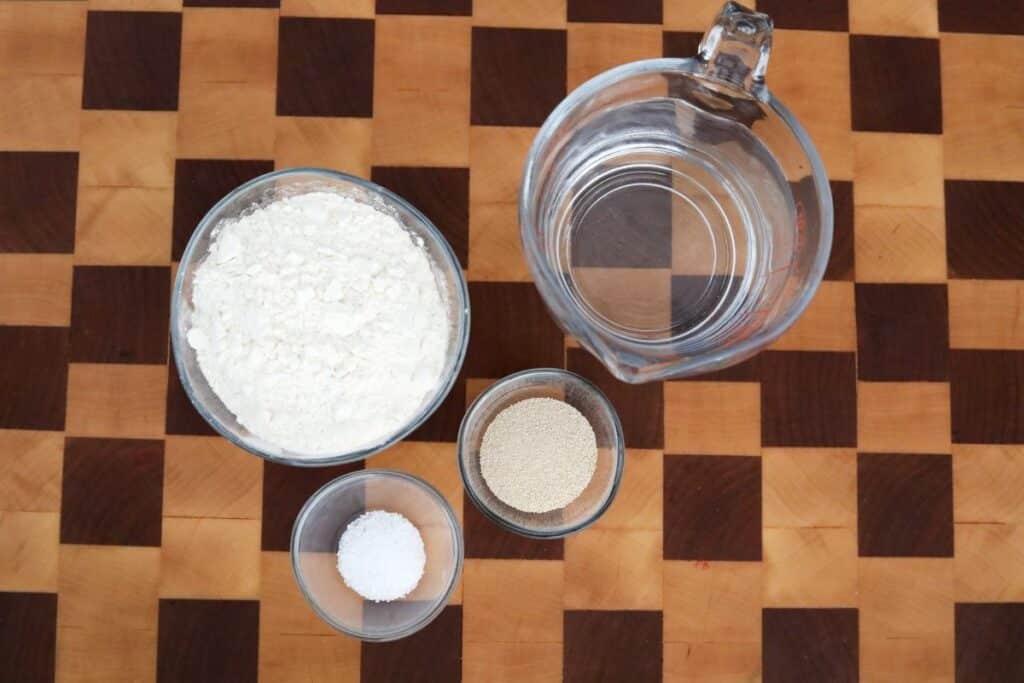
Ingredients
- 3½ cups bread flour
- 1¼ cups water warm
- ½ tsp salt
- 2¼ tsp active dry yeast 1 packet
Instructions
- In your stand mixer or large bowl add the flour, yeast, salt and mix thoroughly. Add the water and on a medium-low speed use the dough hook until the ball pulls away from the sides. The dough should be smooth and elastic.
- Cover the dough and let rest for 1 hour or until it doubles in size.
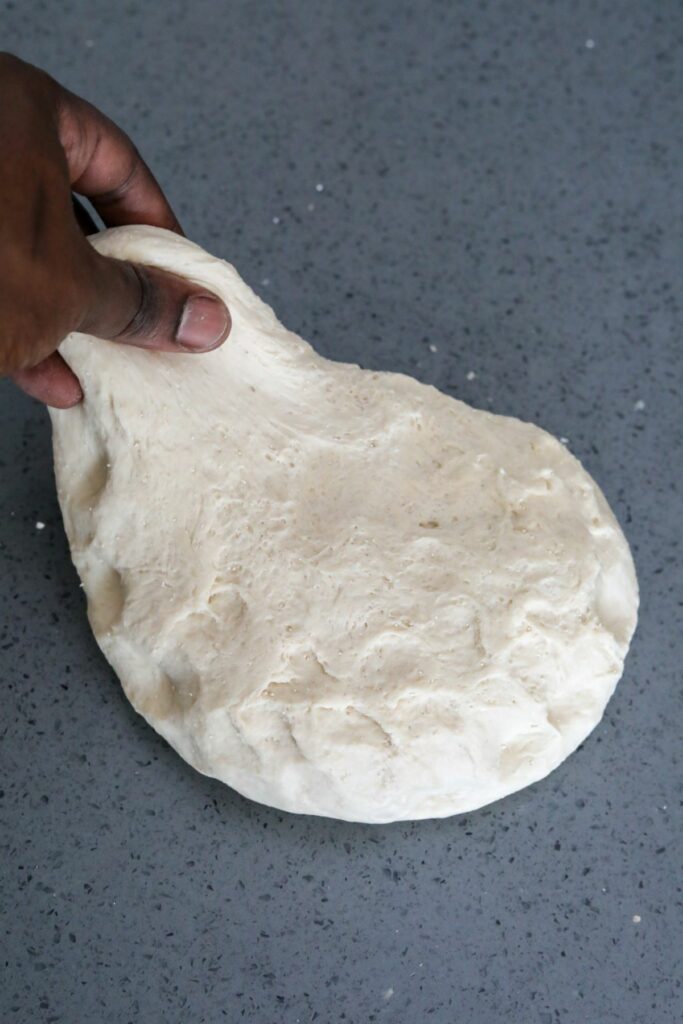
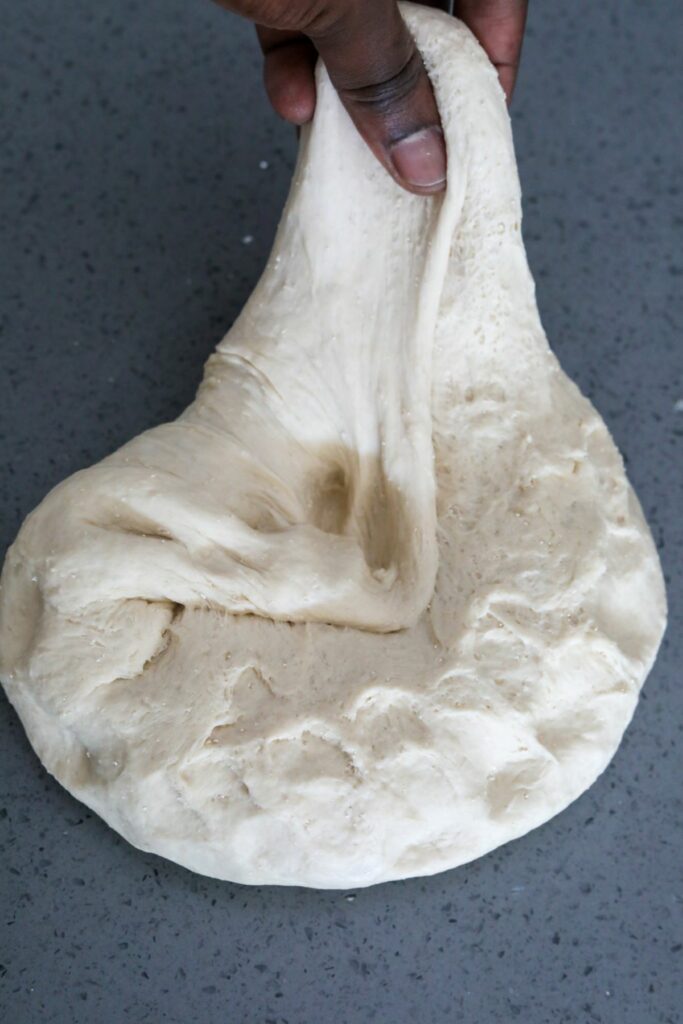
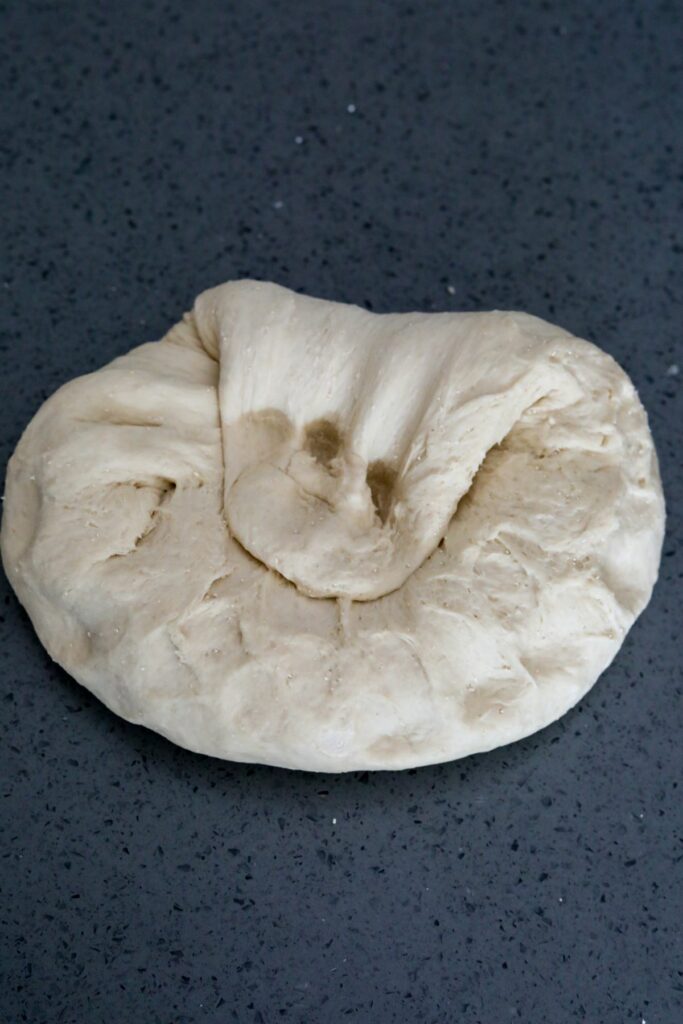
- Pour out the dough onto a lightly dusted surface. Starting with one edge stretch and pull it back to the center and press down. Rotate a little repeat the same action. Once you have done this around the entire ball flip it over.
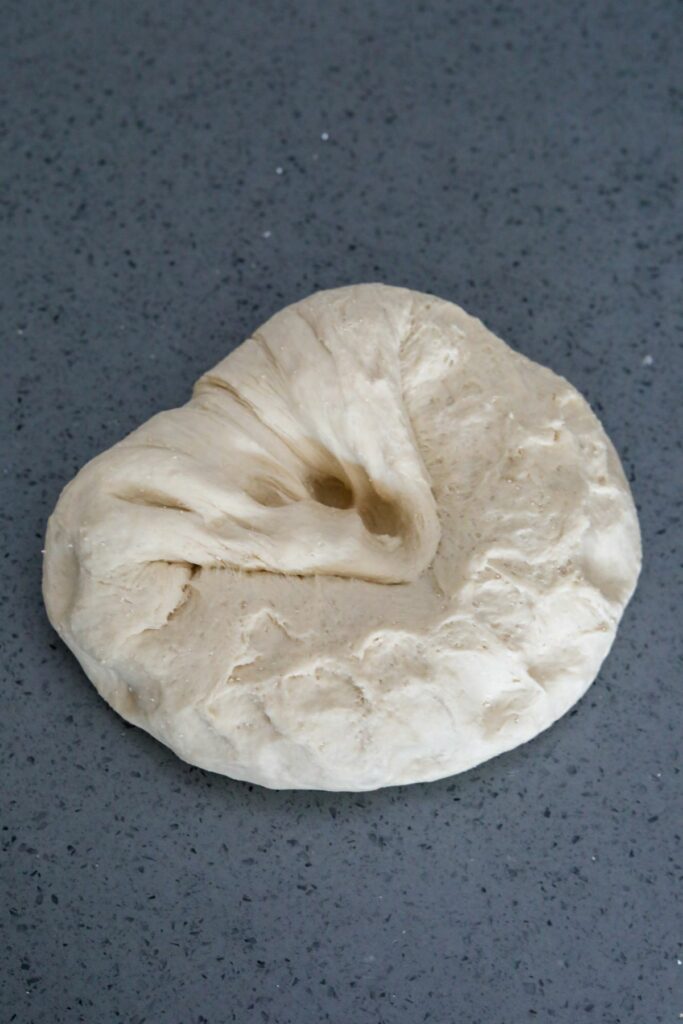
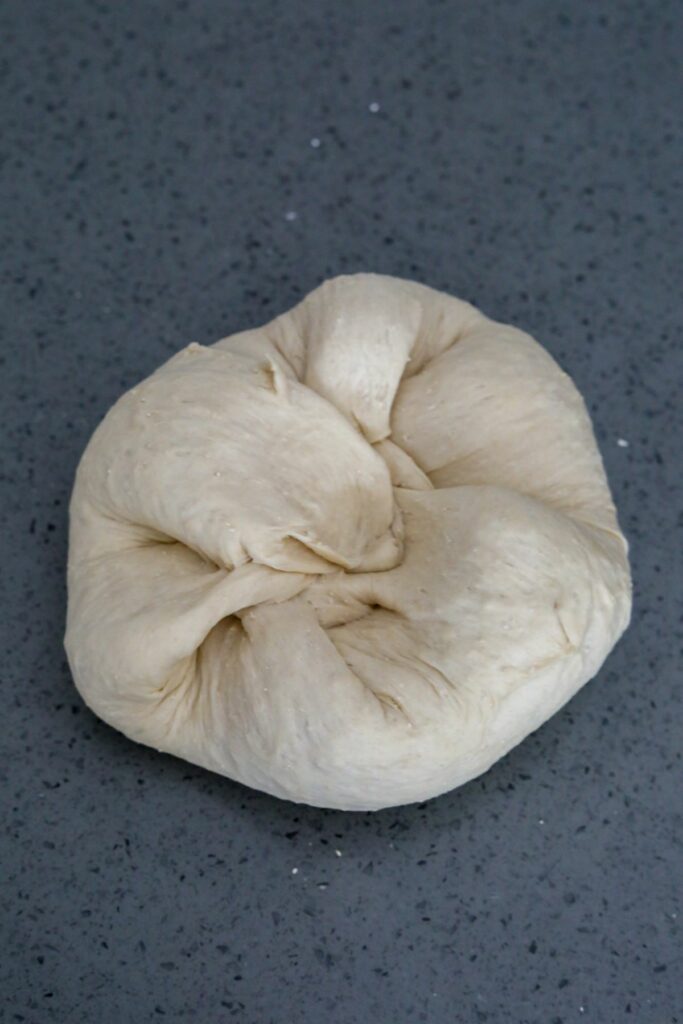
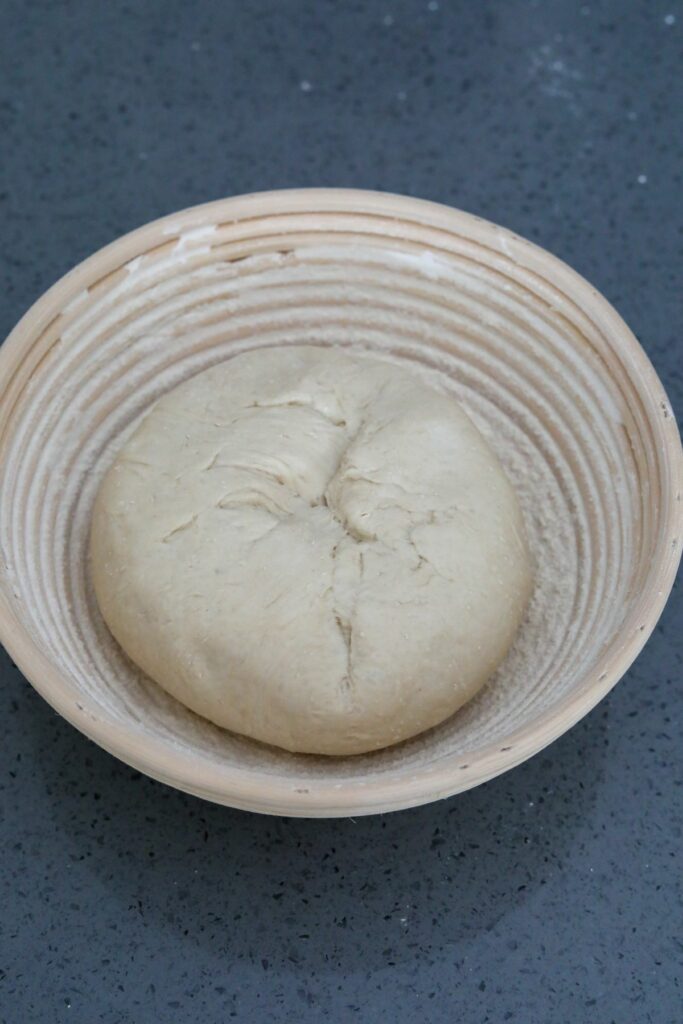
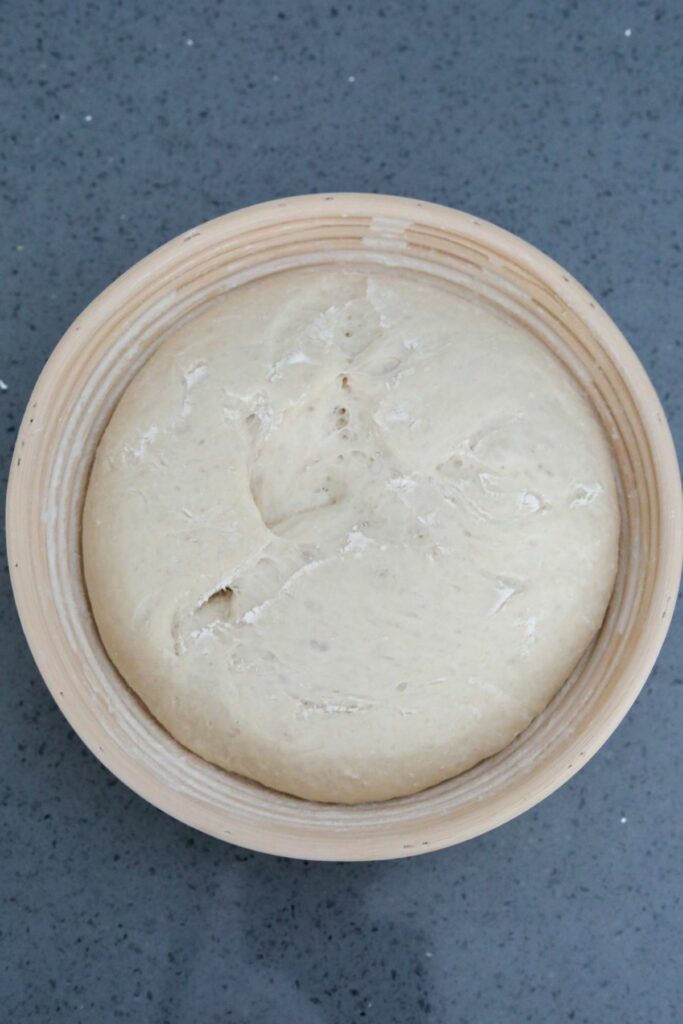
- Pull the ball towards your body about 2 inches, rotate 90 degrees and repeat. Flour the top of the ball and place in a clean bowl or floured proofing basket. Cover and let rise for another 30 min.
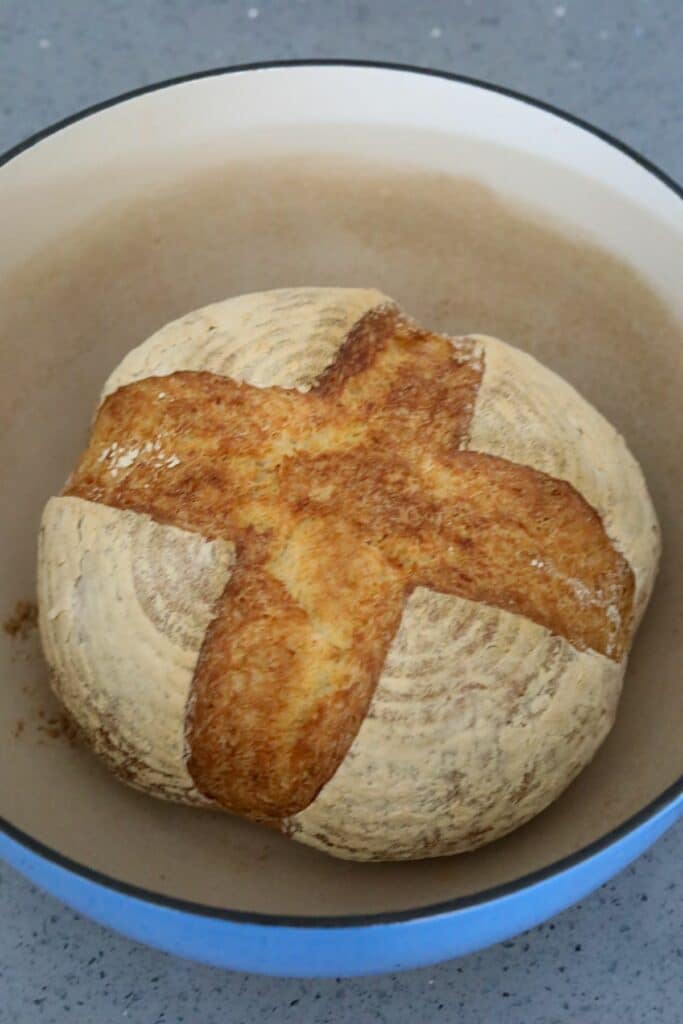
- While the dough is resting heat the oven to 425°F or gas mark 7 and place Dutch oven into the cold oven to heat.
- Once the oven has heated remove the Dutch oven and add the dough seam side down. Bake for 30 min covered, remove the lid and bake uncovered unto golden brown.
- Remove from the oven and place on a cooling rack.
Nutrition
Serving: 1sliceCalories: 104kcalCarbohydrates: 21gProtein: 4gFat: 1gSaturated Fat: 1gPolyunsaturated Fat: 1gMonounsaturated Fat: 1gSodium: 75mgPotassium: 43mgFiber: 1gSugar: 1gVitamin A: 1IUVitamin C: 1mgCalcium: 5mgIron: 1mg
Tried this recipe?Let us know how it was!


How do I make this bread more airy with holes instead of condense, nd give it more flavor!
That is all in the kneading and proofing. You want to knead the dough until it is smoothen when you shape it into a ball and springs back when lightly poked. For your first proof you will want to let it rise until it doubles in size. This can take longer or shorter than the time in a recipe due to how warm your kitchen is or if the dough is in the sun. Then after you knock it down and form the bread you will let it rise again until it doubles in size again. That will help make sure your dough gets those great bubbles.